

Welcome to PubSub 101! In this module you will create a new Ensign account and a new project. After completing this module, you will have an API key that you can use to publish data to Ensign!
Step 1: Creating Your Ensign Account
The first step is to create your free Ensign account here. If you already have an Ensign account, great! you can skip to step 2.
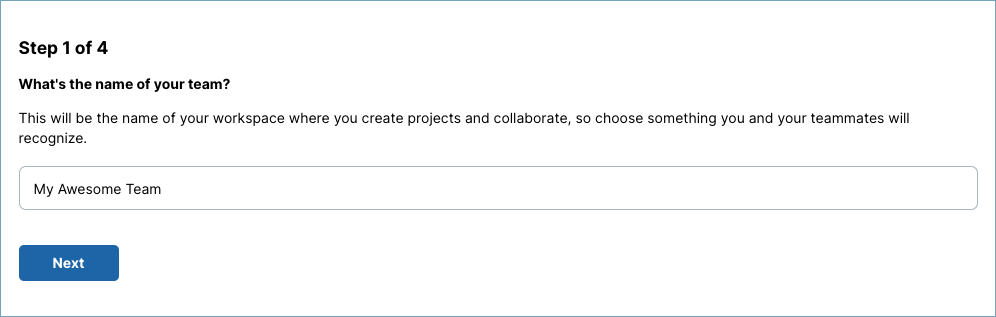
Once you’ve verified your email address and logged in you’ll be directed to create your team name. Pick a name that your team members will recognize. If you’re on your own then you can choose any name you want.
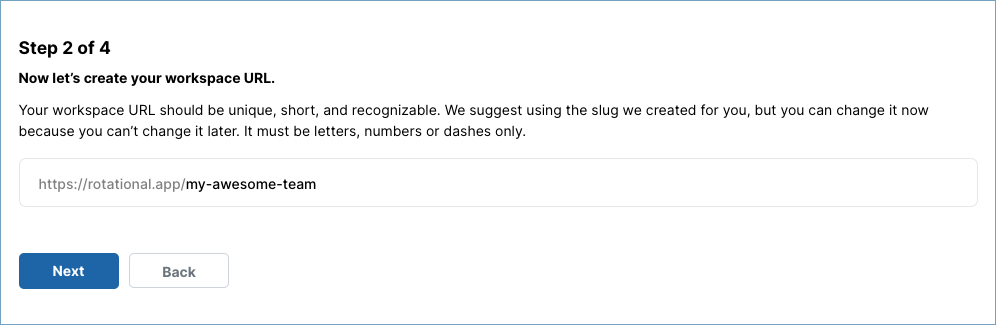
The next step is to create a workspace URL. Ideally it should be as short as possible but meaningful for your team.
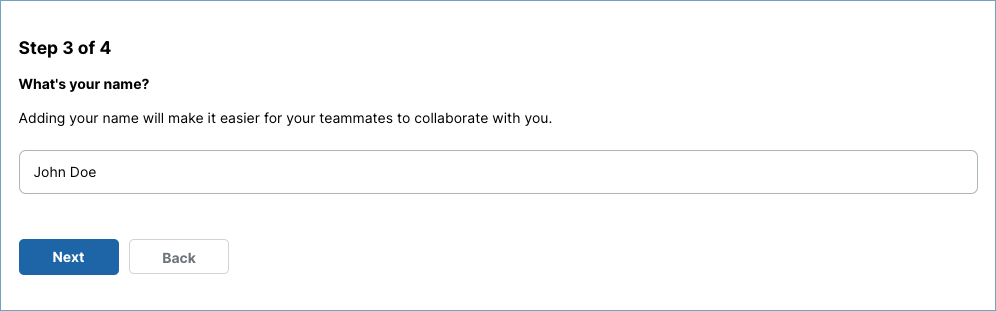
Next, enter your name which will be visible to members in your team.
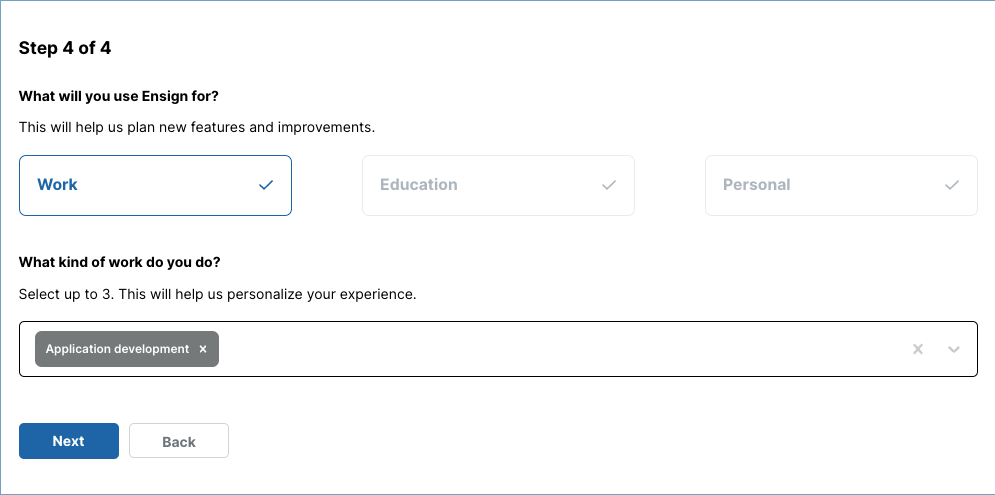
Finally, answer some quick questions to help us personalize Ensign for you.
Step 2: Your First Ensign Project
After setting up your account you will be directed to the Ensign dashboard. From the dashboard, you’ll be able to manage your team and all your projects. Click the Create Project button to create a new project with a name and description. Projects are kind of like databases. Don’t worry too much about the name - you can always change it later.
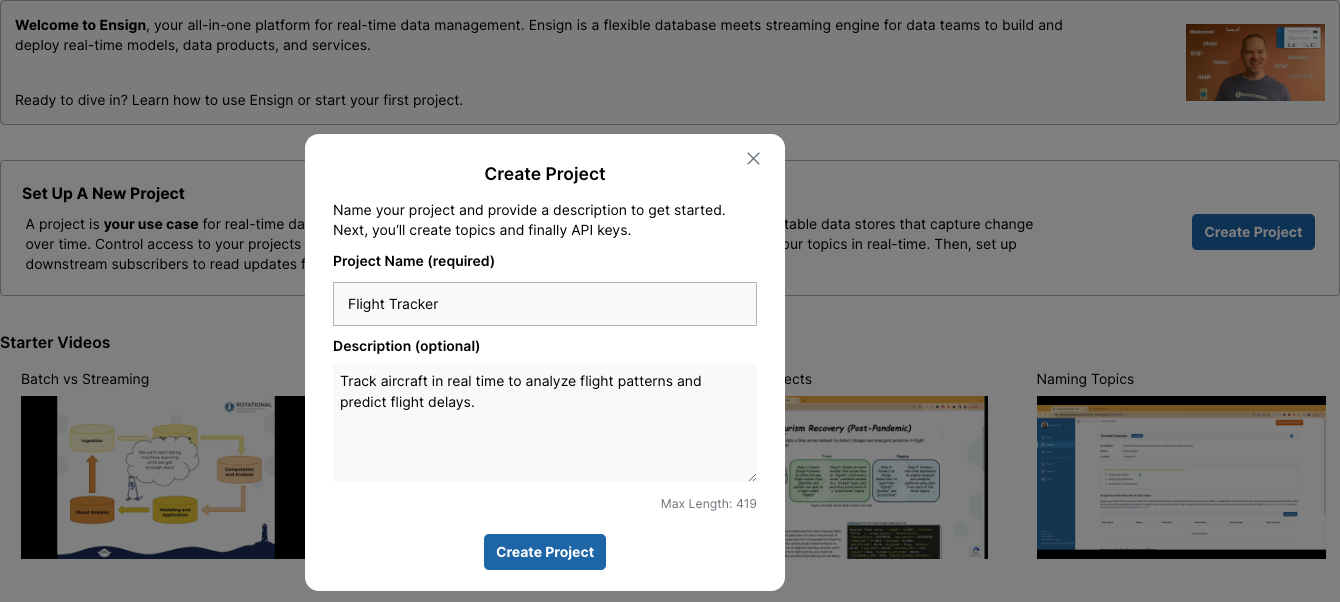
Pro Tip: Projects are scoped to your team, so all of your team members will have access to your projects. If you’re already on a team and want to create a personal project, you can create another Ensign account using a different email address (still free!).
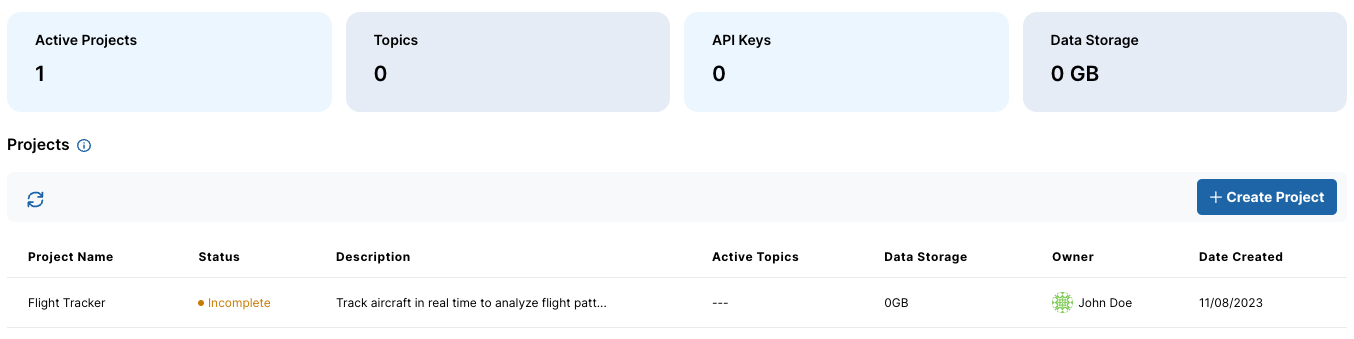
When you create your project, you will be redirected to a page with all of your projects. The projects page lets you navigate to all of your projects and quickly check things like disk usage. Every new project will have an Incomplete status. To finish setting up your project, you’ll need to create a topic and an API key.
Step 3: Creating a Topic
What is a topic?
Topics are the main mechanism for organizing data within a project. They are similar to tables in a relational database, but more accurately they refer to the data flows in your project. At this point it’s helpful to sit down and sketch out what kind of data is moving between the independent components in your project. For example, if you’re building real-time models to predict flight delays you will probably need at least three topics.
- A topic with aircraft position updates.
- A topic to store the trained models.
- A topic with predicted arrival times.
Each topic may have different kinds of data published to it. However, data schemas and types are defined at the Event level, at the point where data is actually to the topic. Therefore, you only need to decide on a topic name at this point.
Naming a topic
Unlike project names, topic names have to follow a few rules:
- They must be unique to the project.
- They cannot contain special characters (e.g. only alphanumeric with underscores or dashes)
- They are case insensitive (e.g. “flight-updates” is the same as “Flight-Updates”)
You should strive for topic names that are distinct but as brief as possible to avoid typos. Remember, you will need to reference them in code and/or enSQL queries!
To create a topic, click on a project from the projects page. Then, click on the New Topic button to create the topic.
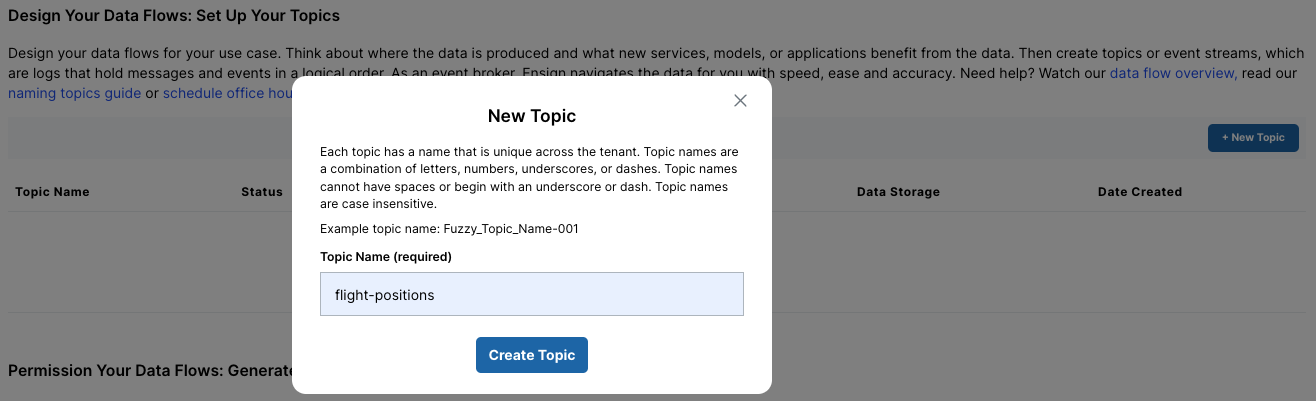
See the topic naming guide for more topic naming tips!
Step 4: Creating an API Key
In order to actually use your topics, you need an API key. API keys define access to your project. This is especially important for provisioning access on a development team or protecting production environments. To create an API key, click the New Key button on the same page you created the topic from. The key name is less important than the topic name, but it should be unique with respect to the rest of the keys in the project so you can tell them apart. By default keys have full access to create, read, destroy, and pub/sub to topics. In production you want to be careful about this, but in development full access keys are perfectly fine.
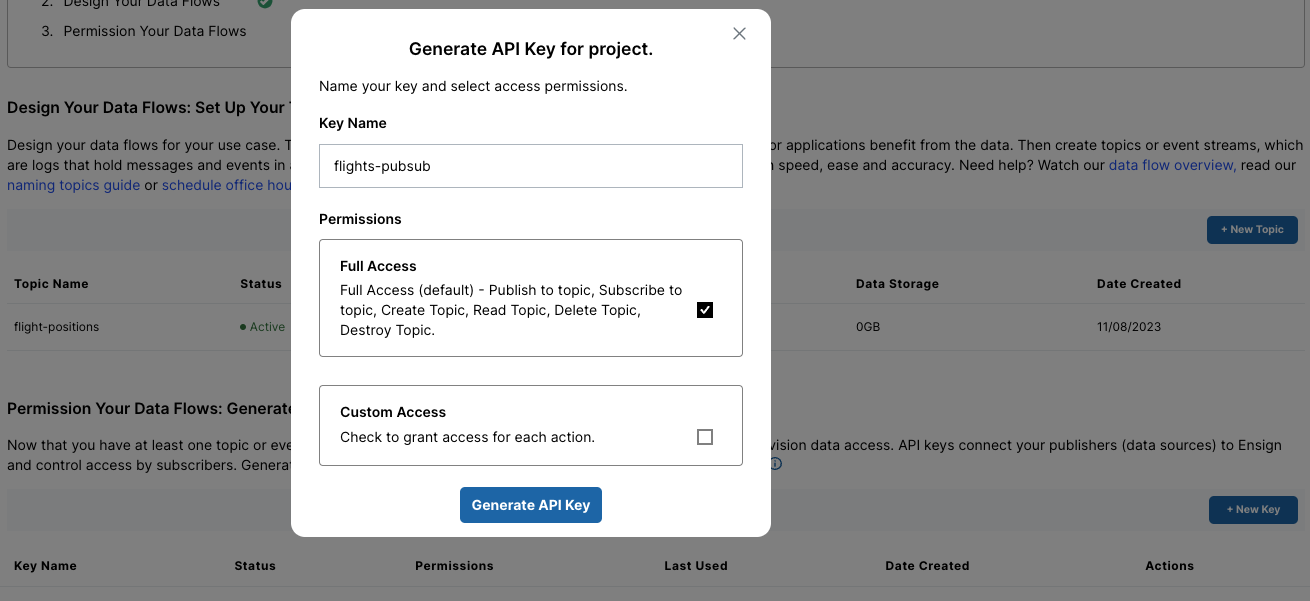
Pro Tip: For team projects, it can be helpful to include the access type and team member name in the key name. For example, if Jane creates a new key to test her data publisher, she might name the key jane-publisher so she can tell which key is hers.
Customizing access
Customizing access for API keys is a good idea for production projects. For example, if you have a project component that only needs to publish to topics, it makes sense to restrict the permissions to publisher and topics:read. Here are all the available permissions.
| Permission | Description |
|---|---|
metrics:read | Can view metrics for topics in the project |
publisher | Can publish to any topic in the project |
subscriber | Can subscribe to any topic in the project |
topics:create | Can create new topics in the project |
topics:destroy | Can delete topics in the project and all their data |
topics:edit | Can modify topic policies and mark as readonly |
topics:read | Can view what topics are in the project and their settings |
Important: Save your key
The Client ID and Client Secret defines your API key, you will need both to access your topics. The Client ID is a 32-character string that identifies the API key within Ensign. The Client Secret is a 65-character string which is like a password that grants you access to
Once you’ve selected permissions and created your key, you should immediately save your Client ID and Client Secret to a safe place. From the confirmation window can either copy them individually or download them as a JSON file to your computer. Make sure to save them before closing the window, otherwise you won’t be able to access the Client Secret again.

If you lose your API key it’s not a big deal. You can create a new one at any time from the dashboard. In fact, rotating your keys on a regular basis by deleting the old ones and creating new ones is a good security practice!
Next Steps
Congratulations on setting up your project! Your Ensign dashboard should look something like this:
![]()
In the next module, you’ll use your API key to stream data to Ensign!
Note: If you get stuck anywhere, don’t stress! You can always reach out to us for help at support@rotational.io
Photo by Waldviertler via Wikimedia Commons


